Introduction
The Perfect Gym Manager allows to create a classroom plan with spots so members booking for classes can select their favorite spot.
First, a studio plan needs to be uploaded for an existing created club zone.
Instruction
How to configure and use Book a seat option?
1. Go to the PGM ->Clubs -> Reservations -> Zones
2. If there has been no Zone type created yet, click on the Add new zone button to create one.
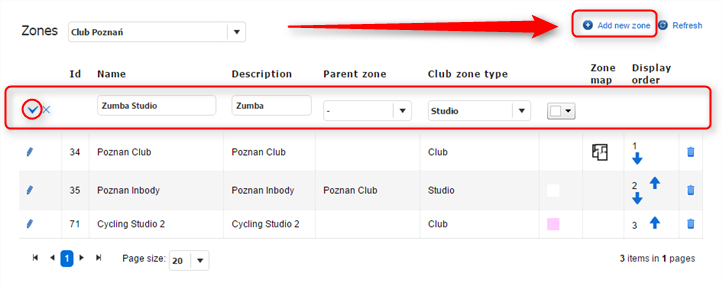
3. Edit the Zone to add an image with a zone plan - this will be displayed to your members while booking a seat. Make sure the plan reflects the actual classroom, so club members could easily make their booking. To upload an image, click on the Select button and browse for an image on your computer. To finish, click on the Confirm button.
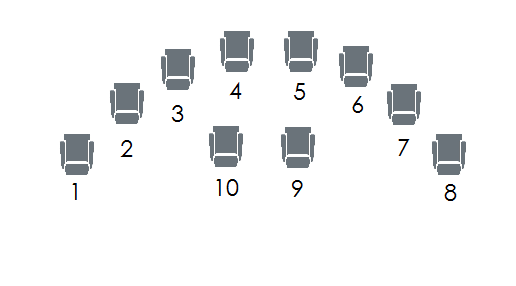
Here is an example of a studio plan:
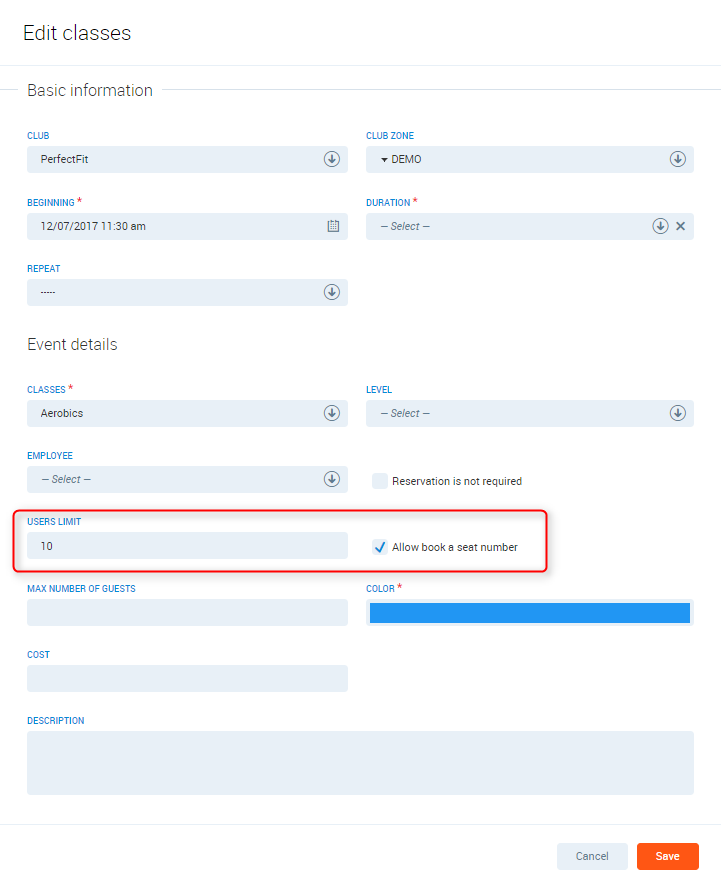
4. Next, when adding a class into the time table, select Allow book a seat number option. This will enable club members to book a seat when booking classes online. Make sure the zone plan is uploaded for the zone in which the class with the enabled seat booking takes place.
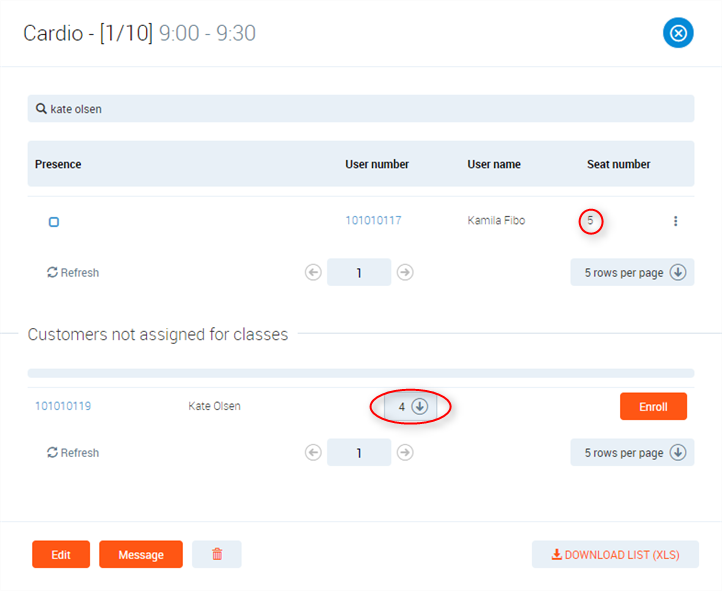
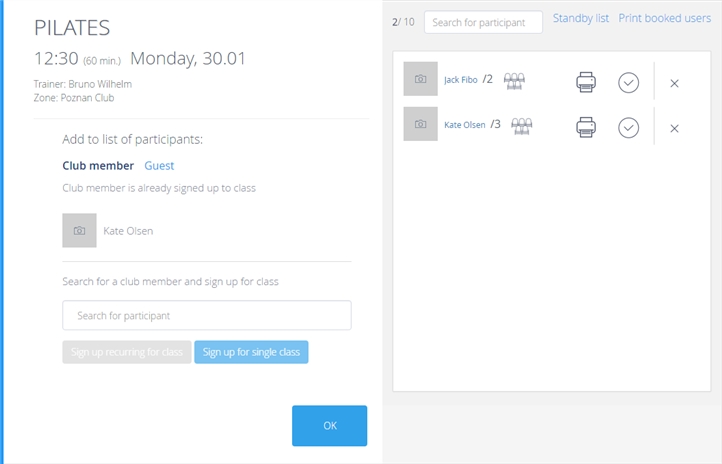
5. Seats booked can be seen in the PGM in booking details of a particular class:
6. To enroll a member to a class and select a seat, proceed as usual by clicking on the ‘Sign up for single class button. Then, the window will be displayed allowing to select a seat.
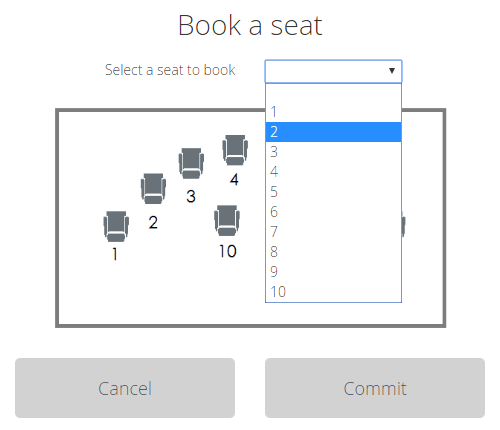
7. After clicking on the Sign up for single class button, the system will display a window with a choice of seats:
In Client Portal, booking a seat looks as follows:
